

There’s something deeply comforting about coming home to the smell of a slow-cooked meal—whether it’s a hearty chili in winter or a tender pulled pork on a summer Sunday. I’ve been using my slow cooker for over a decade now, and it’s saved me more times than I can count on hectic weekdays. But with all that simmering comes the inevitable: tough stains, baked-on bits, and that stubborn ring of residue that seems impossible to scrub away.
Over the years, I’ve tried a little of everything—store-bought cleaners, home remedies, even soaking it overnight (and once forgetting it for two days!). Through trial, error, and a few expert tips passed on from fellow home cooks, I’ve developed a reliable routine to keep my slow cooker in top shape. If your slow cooker has seen better days or you just want to extend its life, here’s a full guide based on real kitchen experience.
Why Proper Cleaning Matters
Before diving into the how-to, let me quickly say why this matters. Slow cookers aren’t cheap, and treating them well ensures they last longer and continue to cook food evenly and safely. Dirty cookers can affect flavor, harbor bacteria, and even cause lingering odors that ruin your next meal. Proper cleaning isn’t just about looks—it’s about performance, hygiene, and even taste.
Step 1: Always Let It Cool
This seems obvious, but I learned the hard way (hello, cracked insert) that letting your slow cooker cool completely before cleaning is crucial. The ceramic insert retains heat longer than you think, so I now make it a habit to wait at least 30 to 45 minutes after unplugging before I even attempt to move it.
Step 2: Remove and Soak the Insert
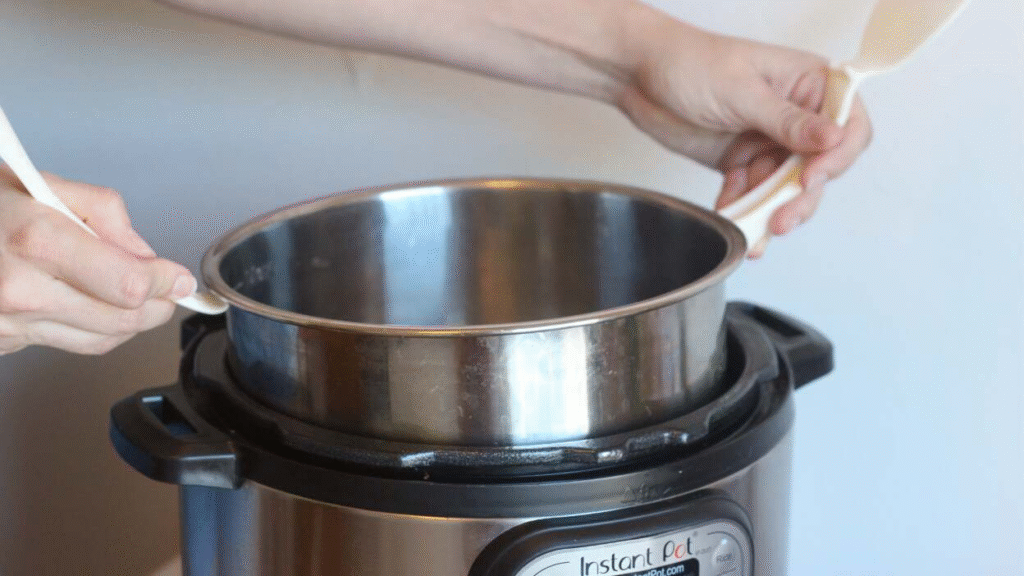
Once it’s cool, I gently remove the ceramic insert and lid. These parts are generally dishwasher safe, but I find that handwashing is both gentler and more thorough, especially if I want to address stains.
Here’s what I do first:
- Fill the insert with warm (not hot) water and a few drops of dish soap
- Let it soak for 30–60 minutes, depending on how stuck-on the food is
This pre-soak loosens most residue so I don’t have to scrub aggressively later.
Step 3: Wash with Care
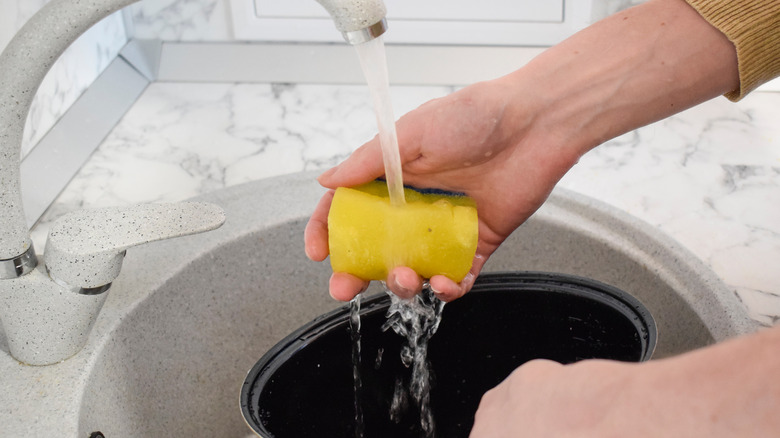
After soaking, I use a non-abrasive sponge to gently scrub the interior. For daily cleaning, this step is usually enough. I avoid using abrasive scouring pads because over time, they can dull or scratch the glaze on the ceramic, leading to tiny cracks that are hard to clean.
- Rinse thoroughly with clean water
- Let air dry completely before storing
If you’re like me and occasionally forget it in the sink overnight—don’t worry. Just rinse it well the next day and continue with the stain-removal steps below.
Step 4: How to Remove Stubborn Stains and Brown Rings
Ah yes, the dreaded brown ring. I used to think it was permanent until I discovered two methods that work wonders:
1. Baking Soda Paste (My Go-To)
- Mix 3 tablespoons of baking soda with a few teaspoons of water to form a thick paste
- Apply the paste to the stained area
- Let it sit for 20–30 minutes
- Scrub gently with a sponge or soft brush
- Rinse well and dry
This is my favorite method—it’s safe, non-toxic, and leaves the cooker smelling fresh too.
2. Vinegar + Baking Soda Soak (For Deep Cleaning)
- Fill the insert with warm water
- Add 1 cup white vinegar and 2 tablespoons of baking soda
- Let it fizz and soak for an hour or more
- Scrub and rinse as normal
This combo works great when the stains are deeper or cover more surface area. The fizzing action helps lift baked-on gunk without needing elbow grease.
Step 5: Cleaning the Heating Base
The outer shell, or heating base, should never be submerged in water. If something spills inside (which has happened to me a few times), I do this:
- Unplug the unit
- Use a damp cloth with a little mild soap to wipe it down
- Dry thoroughly with a towel
- Use a soft toothbrush or cotton swab to clean around knobs and tight areas
Make sure it’s completely dry before using again.
Step 6: Remove Odors Naturally
Certain meals—like Indian curries or pulled pork with garlic—can leave behind a scent that lingers. I personally don’t like when my morning oatmeal smells like last night’s pot roast, so here’s how I naturally deodorize:
White Vinegar Deodorizing Soak
- Fill the clean insert with a 1:1 mixture of white vinegar and water
- Let sit for 1–2 hours, uncovered
- Rinse and let air dry
Occasionally, I’ll even place a few slices of lemon in the mix for a fresh scent.
Optional: Use Liners and Preventative Measures
These days, when I know I’ll be cooking something sticky or sugary (like baked beans or barbecue meatballs), I use a slow cooker liner. These disposable liners prevent sticking and make cleanup ridiculously easy. If you prefer not to use liners, lightly oil the insert with a bit of olive oil before cooking—especially for thick sauces or cheese-based dishes.
A Few Personal Tips I Swear By
- Clean immediately after use whenever possible—it’s 10x easier
- Avoid metal utensils that can chip the ceramic
- Store with the lid off or ajar to avoid trapped smells
- Don’t stack heavy items on top of the insert in storage—it can weaken the ceramic
Final Thoughts from My Kitchen
A slow cooker is more than a kitchen gadget—it’s a time-saver, a meal-planner’s best friend, and in my house, a weekend dinner hero. Like any good tool, it needs a little love to keep performing at its best. With the right cleaning techniques and just a bit of regular care, your slow cooker can last for years—stain-free, odor-free, and always ready to cook something delicious.
If you’d like, I’m happy to share a downloadable version of this guide or a printable cleaning checklist you can keep in your kitchen. Just let me know!