
Sneakers are one of those wardrobe essentials we rely on for just about everything—workouts, errands, travel, and everyday wear. But with all that use comes dirt, odor, and stains that slowly build up over time. The good news? Most sneakers can be cleaned easily and safely in your washing machine, and doing so not only makes them look better—it can extend their lifespan, too.
As someone who has raised two active kids, walked countless miles in the same comfy trainers, and learned the hard way which shoes survive a spin cycle, I’ve developed a foolproof method that actually works. Whether your sneakers are scuffed from the trail or just a little too well-loved, this guide will walk you through every step of machine-washing them like a pro.
🧼 What You’ll Need
Before we get started, make sure you’ve got these basics on hand:
- Mild liquid detergent (no bleach or fabric softener)
- A soft brush or toothbrush (for pre-cleaning)
- Mesh laundry bag or pillowcase (to protect your shoes)
- Old towels (to balance the load)
- Paper towels or newspaper (for drying)
- Optional: Baking soda or white vinegar for odor control
👟 Can You Wash All Sneakers in the Washing Machine?
Not all sneakers are created equal. Many are made with machine-safe materials like canvas, mesh, or synthetic fabric—but some should never go near water.
Safe for washing machines:
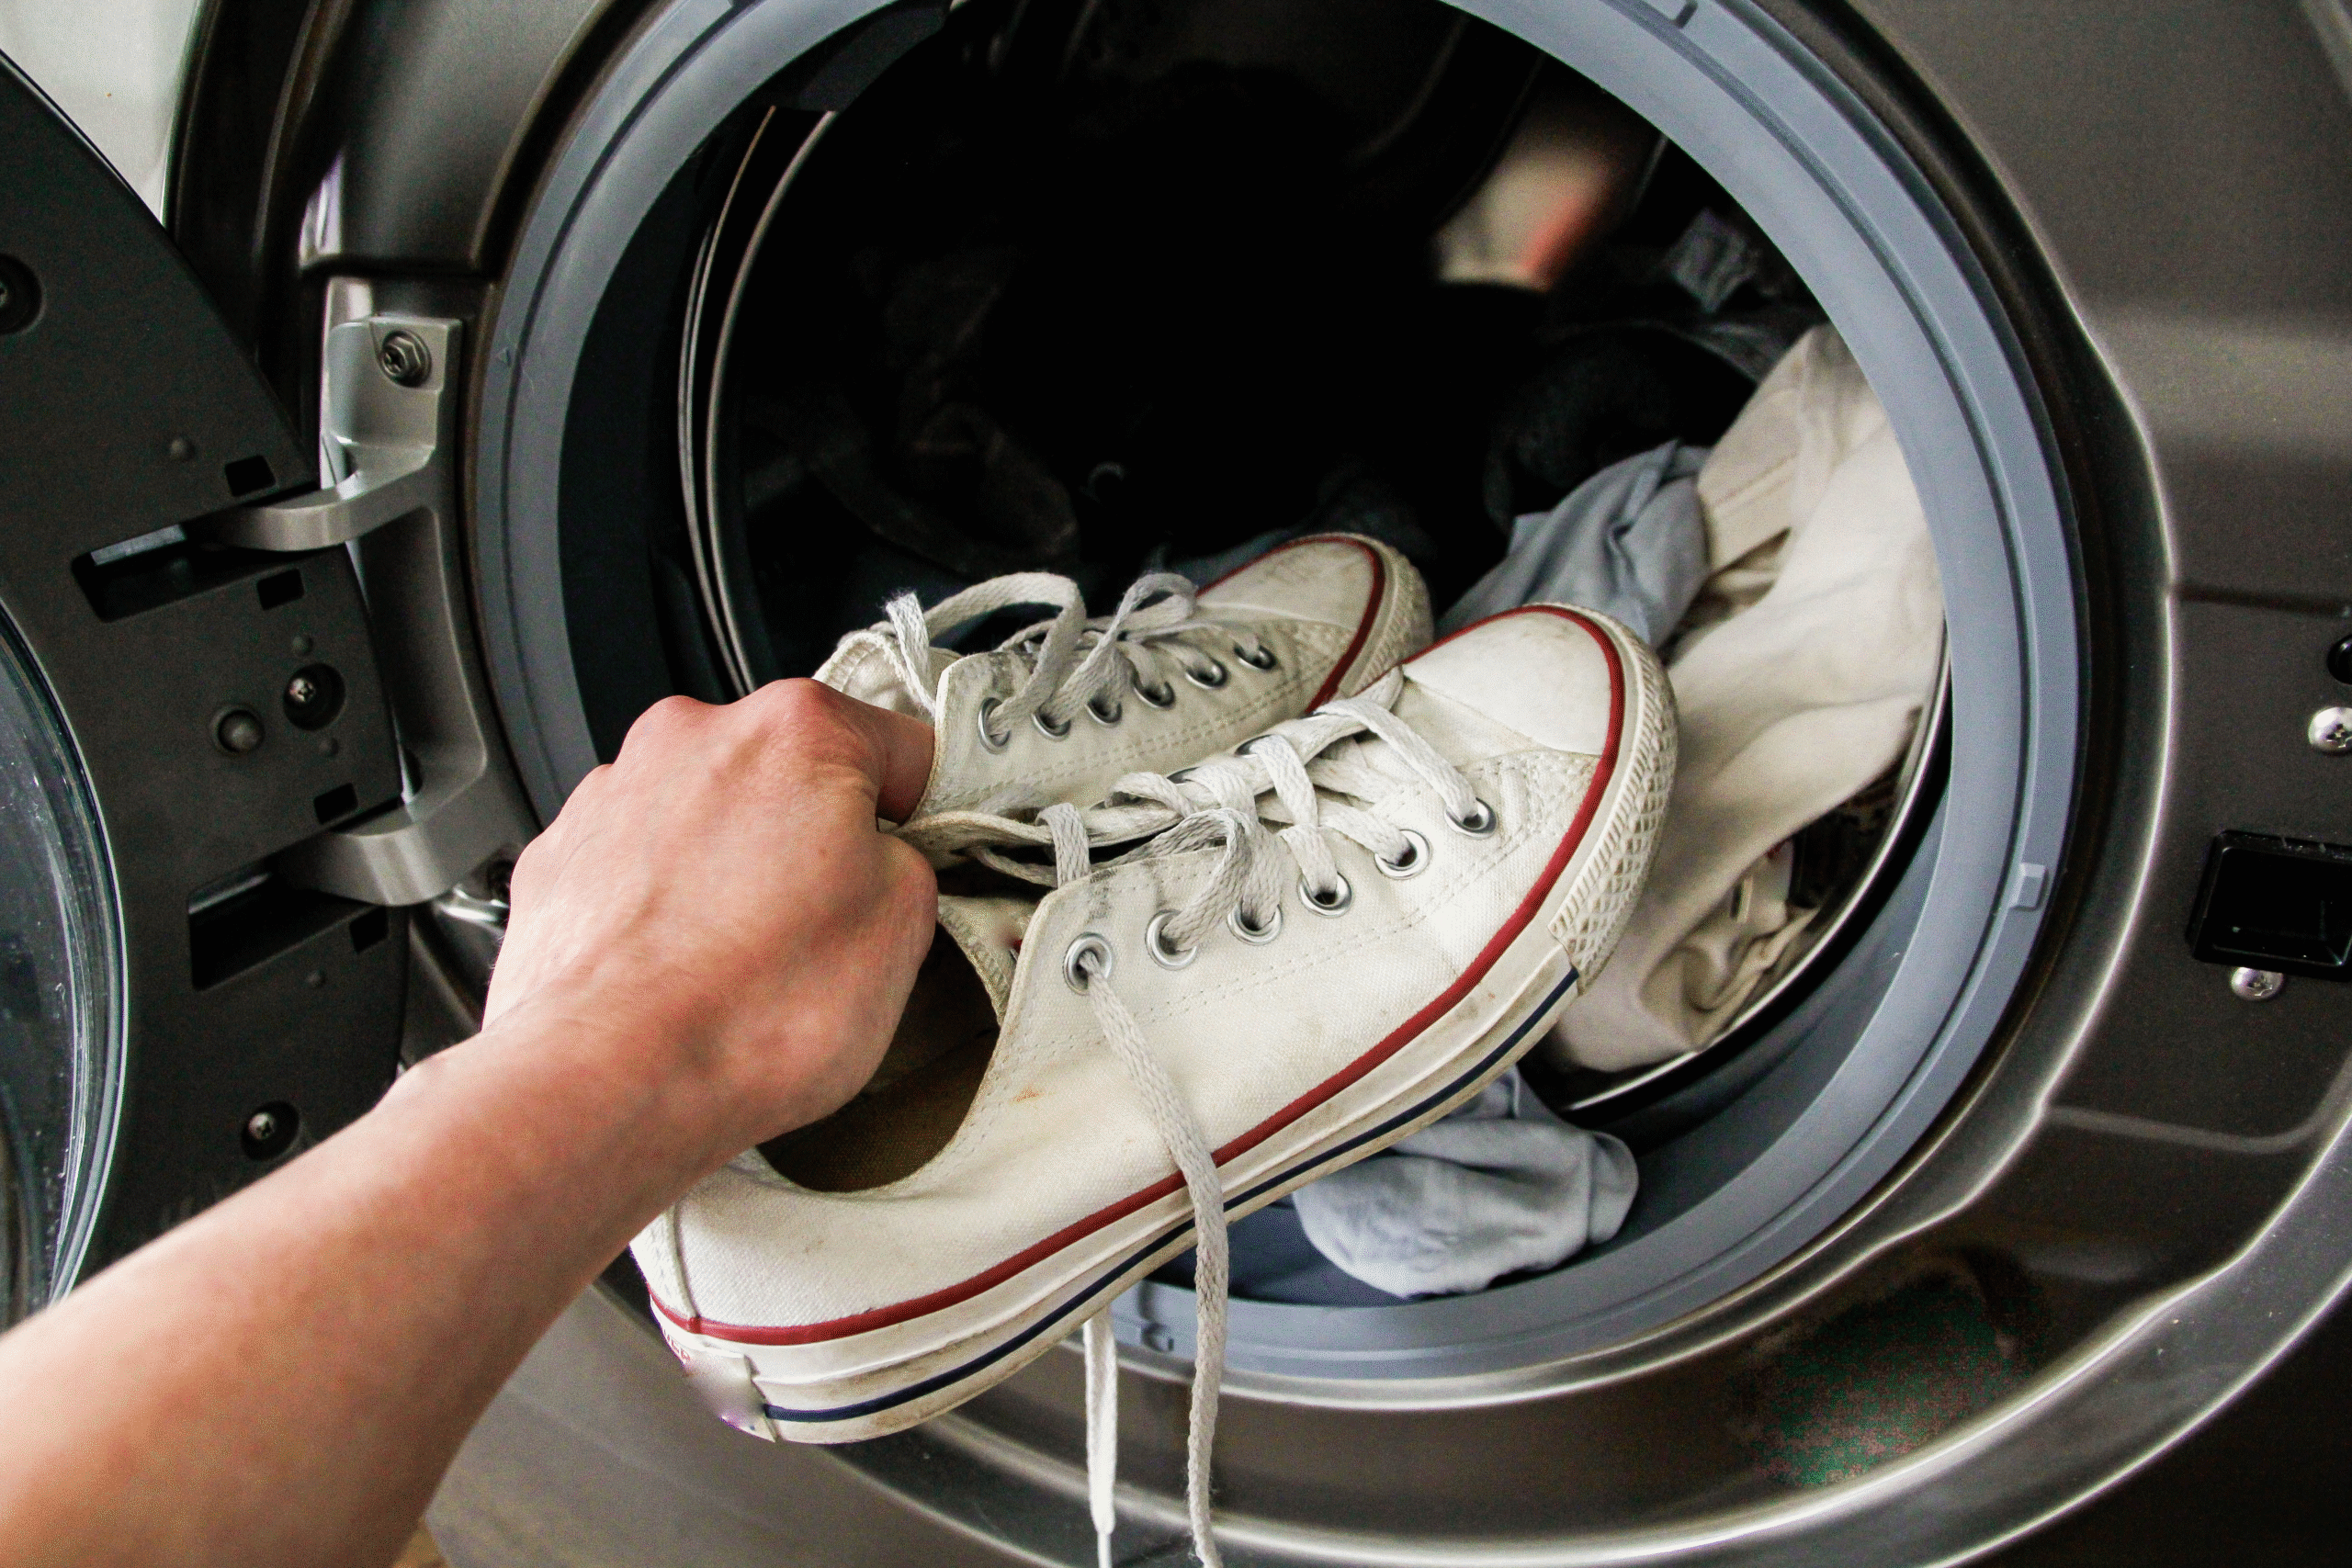
- Canvas sneakers (like Converse)
- Running shoes with mesh uppers
- Fabric or synthetic athletic shoes
Not safe for the machine:
- Leather or suede shoes (they’ll crack or lose shape)
- Shoes with gel inserts or memory foam insoles
- High-end sneakers with specialty glue or details
When in doubt, check the manufacturer’s care label, usually found inside the shoe or on the brand’s website.
🔄 Step-by-Step: How to Wash Sneakers in the Washing Machine
Step 1: Prep the Shoes
- Remove the laces and insoles: These collect the most dirt and grime and should be washed separately. I like to soak them in warm water with a little detergent.
- Knock off loose dirt: Take the shoes outside and clap them together, then scrub the soles and sides with a dry toothbrush to loosen any stuck-on grime.
Pro tip: For strong foot odor, sprinkle baking soda inside the shoes the night before and shake it out in the morning. It works wonders!
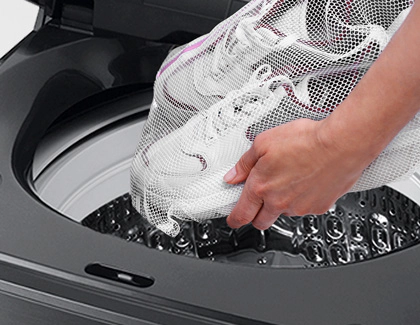
Step 2: Protect Your Sneakers
Place your shoes in a mesh laundry bag or a pillowcase tied shut. This protects them from banging around the drum, which could cause damage to the shoes or your washer.
Next, add 2–3 old towels to the load. These will help balance the washer and absorb some of the impact, making everything quieter and safer.
Step 3: Wash with Cold Water on Gentle Cycle
Set your washing machine to:
- Cold water (prevents shrinking and glue breakdown)
- Delicate or gentle cycle
- Extra rinse, if available, to remove all detergent residue
Use mild liquid detergent, and skip bleach or fabric softeners—they can be too harsh for the materials.
Step 4: Air Dry the Right Way
Never put sneakers in the dryer. The heat can cause rubber soles to warp, adhesives to melt, and fabrics to shrink. Instead:
- Stuff the sneakers with paper towels or clean rags to help them retain their shape and absorb moisture.
- Air dry them in a well-ventilated space, away from direct sunlight or heaters.
- Lay them flat on a clean towel and flip them occasionally until fully dry (this can take up to 24 hours).
💡 Extra Tips for Cleaner, Longer-Lasting Sneakers
From years of trial and error, here are a few extra tricks I’ve picked up along the way:
- Use a magic eraser on rubber soles after drying for a polished finish.
- Replace worn-out insoles after cleaning if they’ve lost cushioning or still smell.
- Spot clean between washes using a 50/50 mix of white vinegar and water.
- Only machine wash when needed—frequent washing can wear out stitching and materials faster.
✅ Final Thoughts
Machine-washing sneakers might seem risky, but with the right prep and care, it’s one of the easiest ways to revive your favorite pair. I’ve rescued countless sneakers—muddy running shoes, grass-stained school kicks, and even food-splattered slip-ons—with this simple process. It saves money, reduces waste, and honestly, it just feels great to put on clean shoes.
So the next time your sneakers are looking rough, don’t toss them—wash them the right way and give them a second life.